
 Lets set up the gear.
For the most part you only buy a full outfit one time. From then on you only replace and or repair equipment. Not much will be added. Almost nothing deleted. Plenty will be upgraded and/or customized if you a serious backpacker. That’s why it’s better to buy economically instead of cheaply or extravagantly at first.
Whether you are new to backpacking or a veteran, it’s always good to do a dry run before ever going into the outdoors. If you have a new outfit, it’ll need unpacking and the garbage that comes with it disposed. With an older outfit, now’s the time to do maintenance, upgrades.
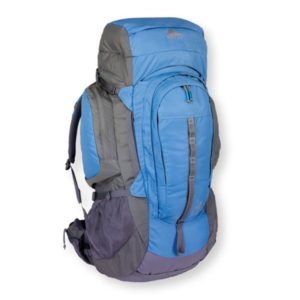
The backpack is the carry-all, of course, so lets start there. You want to make that function as comfortable as possible due to the weight it has to carry. Today’s packs have adjustments that help with that. This is where I prefer internal frame packs. Units like the Kelty Coyote shown left have metal inserts inside rear of the pack that can be removed and shaped to fit the curvature of your back. This is one of the first things I do. Coupled with strap adjustments the load can then be distributed comfortably. This is a major adjustment and must be made several times to get it right. First with the pack empty, then after loading. This is repeated, eventually getting to that point where you are comfortable with full load. Weight will be distributed if the pack is adjusted correctly. It looks like a lot of straps and adjustments at first, but once you start, the process begins to make more sense and becomes easier.If you have a new pack, try it on, make any and all adjustments you want. This way you can see how each part works and customize your own fit. Start with the empty pack.
This is where having at least two people on a trip makes real sense. With two backpacks (and day packs), more food and gear can be carried, hopefully, increasing the enjoyment of the experience. For instance the tent can be separated from the food, both being dense and relatively heavy, with one person carrying one or the other. More food and fuel can be carried this way. With a dry run you can decide who carries what.
The next piece that needs practice before live use is the tent. A good tent is one that is easy to put up and take down, keeps you dry, and comfortable. Some of the coolest looking tents are the most difficult to work with.
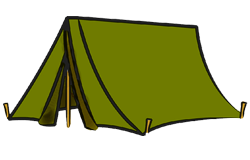 <-----Here's, what might be, the most simple, least expensive, option in a tent. These can pack down small and are easy to put up and take down. They tend not to be real good in wind and rain but can work. There was a time when this was the king of tents. <-----Here's, what might be, the most simple, least expensive, option in a tent. These can pack down small and are easy to put up and take down. They tend not to be real good in wind and rain but can work. There was a time when this was the king of tents.
|
| Here are a few different tents for your scrutiny. Click on the image for a larger view. |  |  |  | 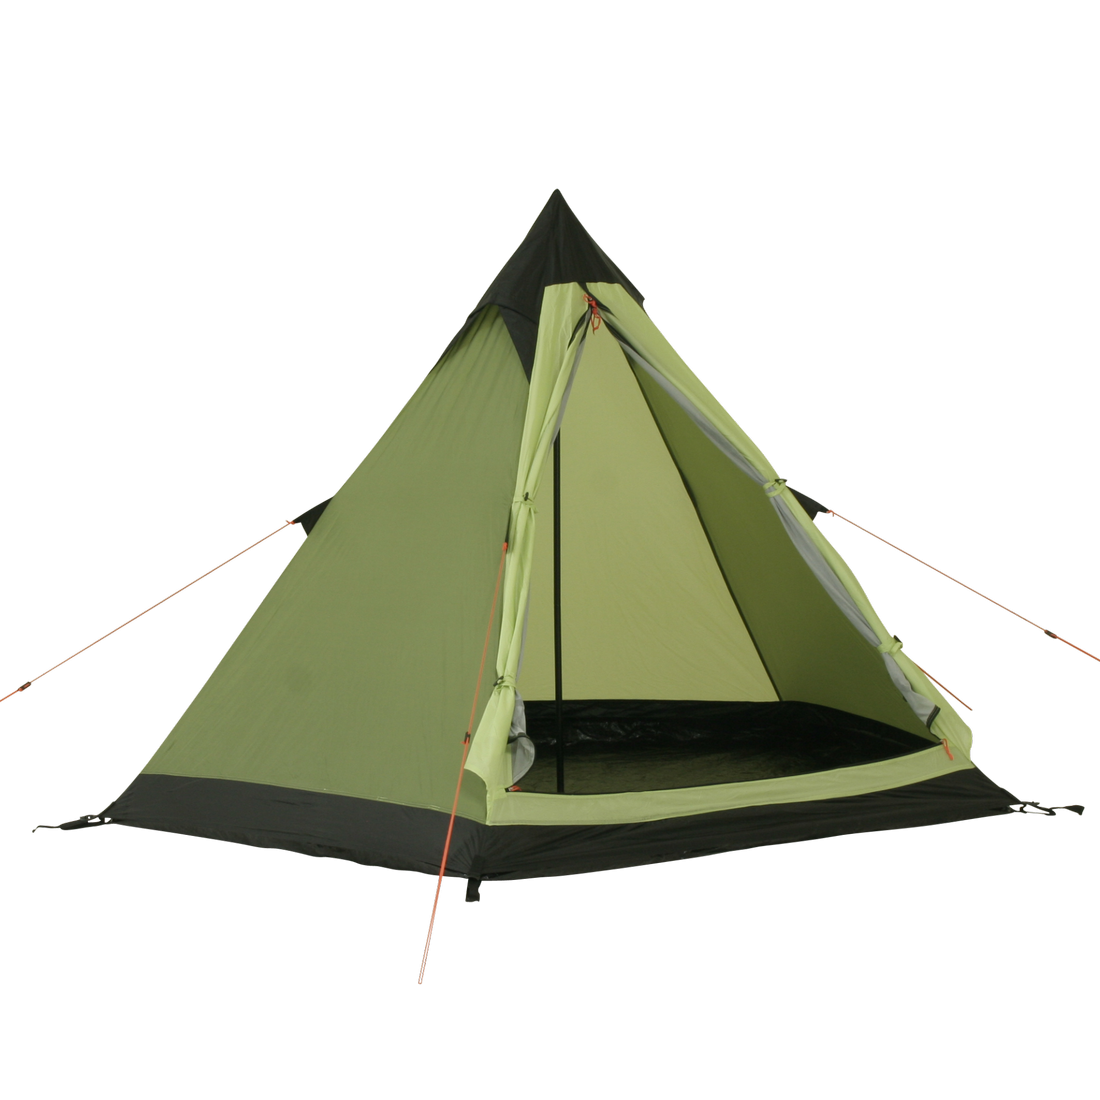 | 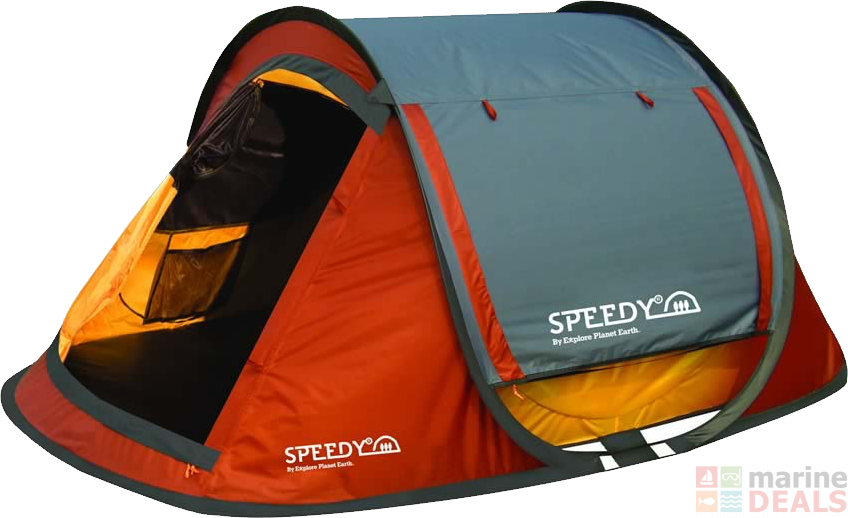 | 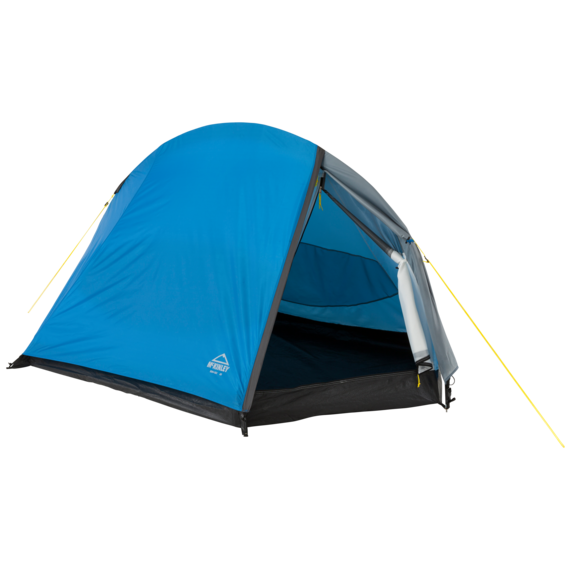 |
Notice the tents above. Most of them are advertised as free standing tents. Beware this label. All the tents above need to be staked down. A true free standing tent does not. The Speedy is a free standing unit but does not break down into a form that can fit into a backpack at all.
My personal favorites are those similar to the Coleman Peak I Aries.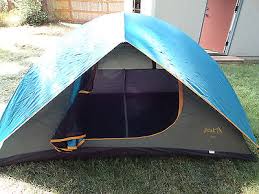 This tent used a third pole instead of having a vestibule, making it able to be truly free standing. The size was 7′ x 6′ with 4′ in the center. It’s rolled up size is about 9″ by 16″. It can fit cross-ways in the bottom of the Coyote pack – A big plus.
One of the designs I try to avoid is a dome where the poles are run through sleeves.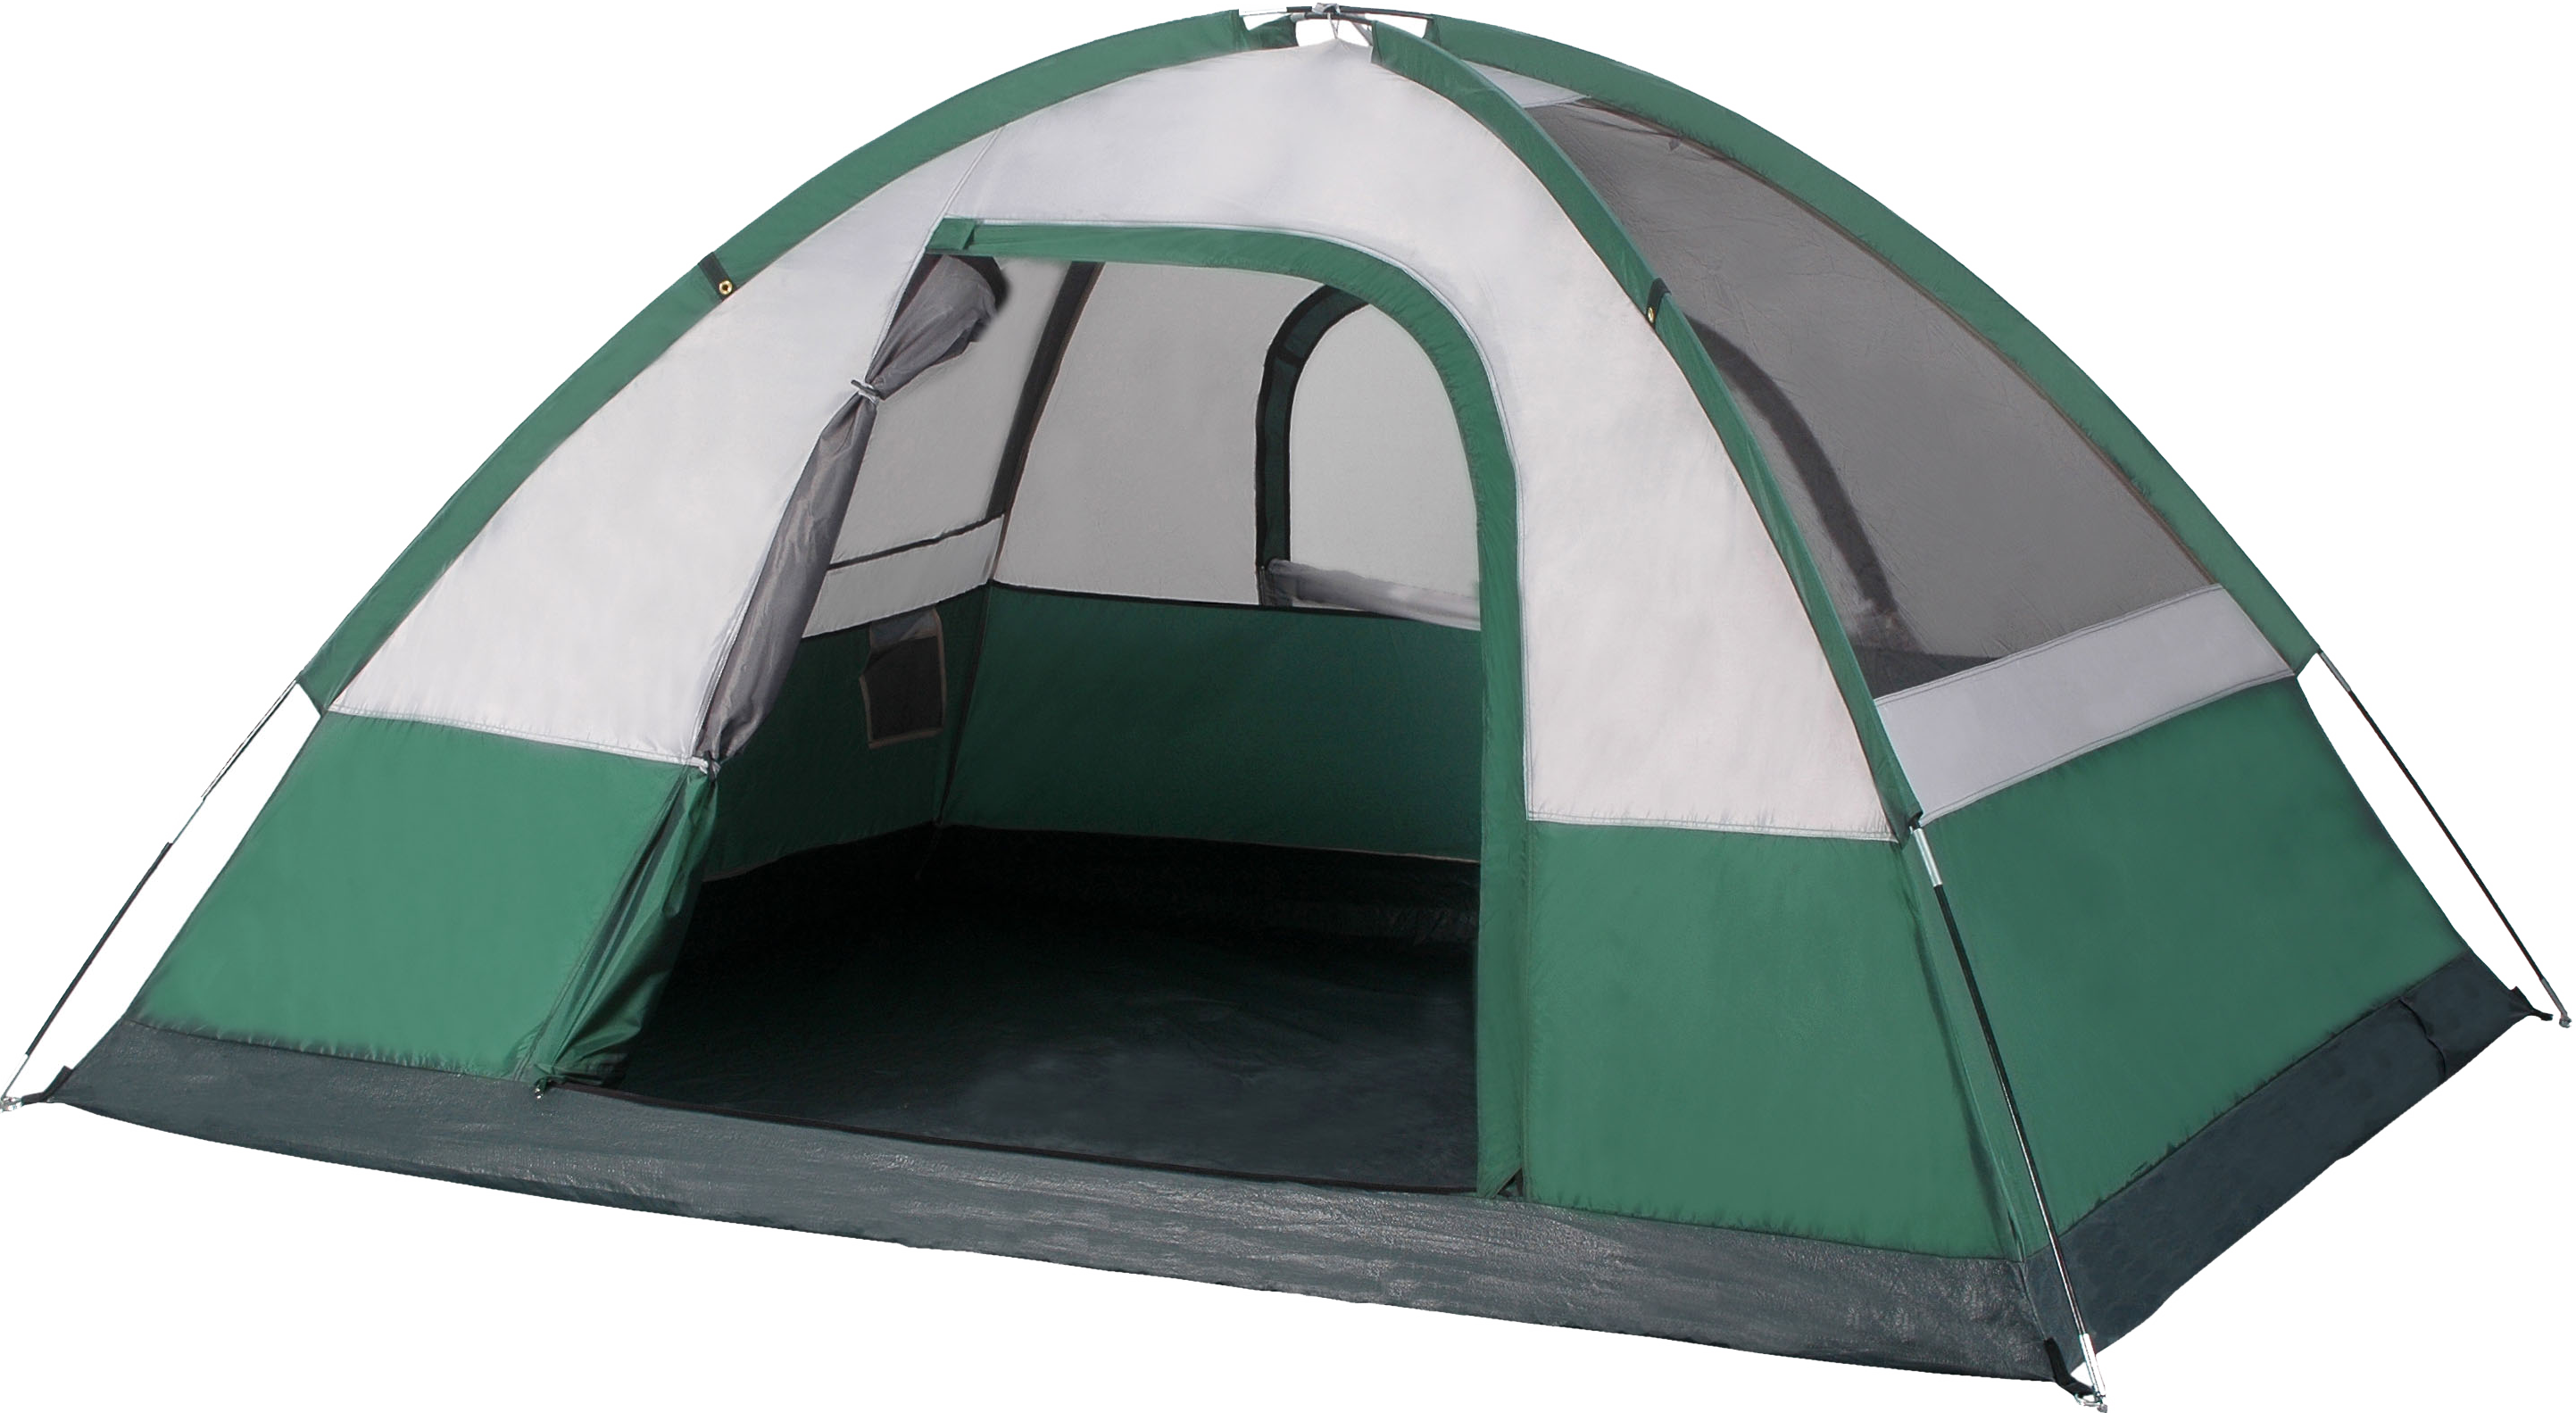 These can be difficult to thread in cold and/or wet weather, making the tent much harder to put up. I’ve had to make camp in the rain. Can be fun if you know your gear. Object is not to get wet and keep the rest of your gear dry even while putting up the tent.
A hallmark of a good tent is whether it can be put up and taken down easily. This is where the dry run can make or break a piece of equipment. During a test run you can return it and get another. Out in the trail, this is not an option.
I like to test a tent in the rain. If there are no rainy days available, use a garden hose. Put the tent up and leave it for a few days, especially if there is rain in the forecast. See where, or if, it leaks. Take it down and put it back up. See how easy or hard this is after it’s rained on, left in the elements. A new tent is more difficult to work with than after it’s “broken in”.
Once you have put the tent up in good weather, “in your back yard”, you can see how it fits what you want to do. Leave it up. Break out the rest of your gear. Set up the camp just like you would have it in the backcountry. Even fix yourself a meal. Then break camp – disassemble everything and pack it up, into the backpack. This is THE test. Everything must be able to fit inside, or attach, to the backpack.
I like to put the tent in the very bottom of the pack because of its weight and density. This is why the size limitation on how big the tent is when its rolled up and bagged. Next comes the stove and food. Again the heavier items go toward the bottom of the pack. From here one can feel more freedom in what to pack next.
One rule of finger is to put the rain gear in an outside pocket for easy accessibility. Same with bear spray, if needed. For battery powered equipment a supply of batteries is a good outside pocket item.
If you have chosen to carry water or other liquids inside your pack, be sure the container is leak resistant. Take extra care with the fuel supply bottle(s).
Other items such as camping all-in-one tools, flashlight, fishing rod, can be attached to the outside of the pack itself. Also I usually attach my self inflating air mattress and ground cloth to the bottom of the pack. Most packs come with external bottom straps for this. Some come with these straps on top also. I tend to stay away from being top heavy, though.
Once you are all packed up, it’s time to readjust the pack if needed. Most of the time this will be needed, especially with a brand new backpack. I adjust mine before each hike and there are always adjustments needed. Then its off to have a walk with your rig. Take a walk in a park or wherever to get the feel of the unit. Then have another round of adjustments, if needed. Repeat this process until you get the desired comfort.
If you are going to use a day pack, plan the contents of that also and do a dry run with that too. The day pack is handy to use if your hike is one where you set up camp each day and hike back and forth to and from that camp – the base camp. The other scenario is where you are hiking straight through and the campsites are for all night rest stops but no hiking done using these as base camps. One uses a day pack while the other does not. On a straight thru hike, meals are prepared on the trail and once camp is made, for the night. In a base camp scenario the meals are prepared at the campsite and packed into the day pack.